
In this blog, we will see about the Sending Email by MIME(Multipurpose Internet Mail Extensions) code using Amazon Simple Email Service, we will elaborate the each and every step, and how we will verify the email in Amazon SES from the scratch.
Step-1 CREATE IDENTITY IN AMAZON SIMPLE EMAIL SERVICE
In Amazon SES, a verified identity is a domain or email address that you use to send or receive email. Before you can send an email using Amazon SES, you must create and verify each identity that you’re going to use as a “From”, “Source”, “Sender”, or “Return-Path” address. Verifying an identity with Amazon SES confirms that you own it and helps prevent unauthorized use. If your account is still in the Amazon SES sandbox, you also need to verify any email addresses which you plan on sending email to, unless you’re sending to test inboxes provided by the Amazon SES mailbox simulator. For more information, see Using the mailbox simulator manually. You can create an identity by using the Amazon SES console or the Amazon SES API. The identity verification process depends on which type of identity you choose to create.

Step-2
Here you will select the admin email afterwards send test email button will be enabled click on it to navigate to the next page, and select the email format Raw type, then by default from the address added in the respective text field, then select the scenario type click on the drop-down select the custom, after entering the Custom recipient email address, then enter the MIME code in the message field, finally click on Send test email button.


From: Some One <prabakaranjeeva2000@gmail.com>
MIME-Version: 1.0
Content-Type: multipart/mixed;
boundary="XXXXboundary text"
This is a multipart message in MIME format.
--XXXXboundary text
Content-Type: text/plain
this is the body text
--XXXXboundary text
Content-Type: text/plain;
Content-Disposition: attachment;
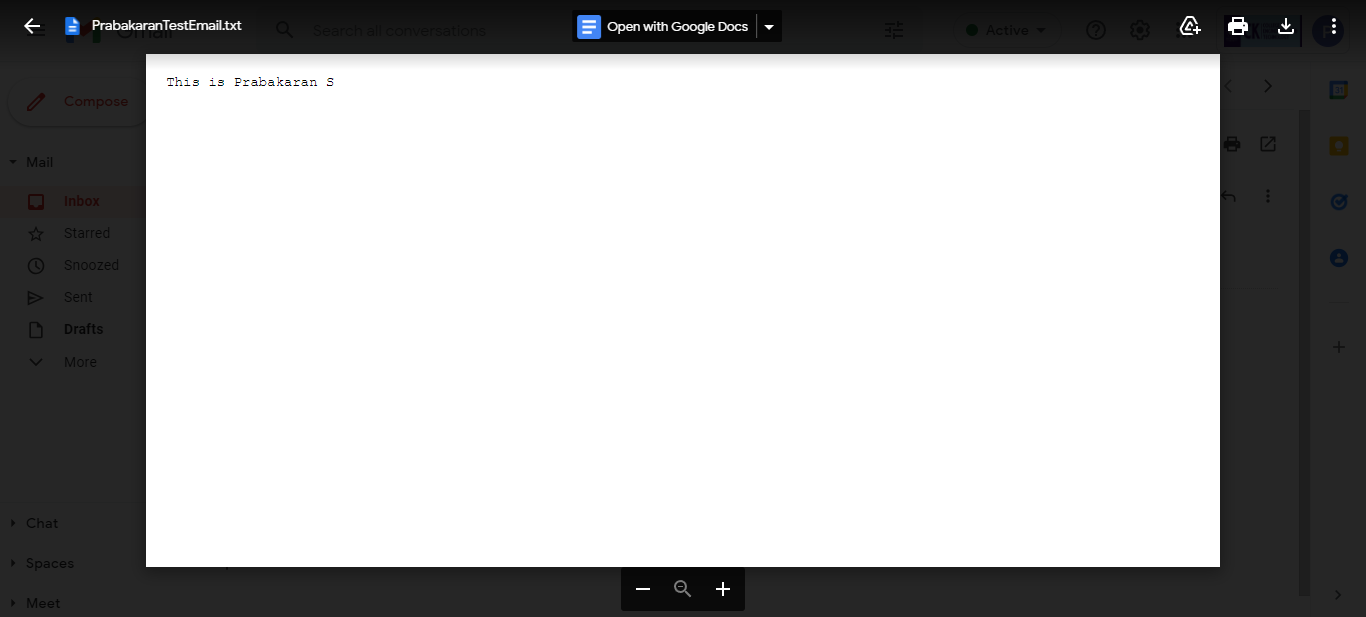
filename="PrabakaranTestEmail.txt"
This is Prabakaran S
--XXXXboundary text–
Step-3 Output:

Any queries leave a comment please and thanks for reading this blog.